If you are preparing a flyer run, use the navigator to jump to the question you have right now. Then confirm your plan with a test print and proof-first workflow when your design includes QR, full bleed, and photos.
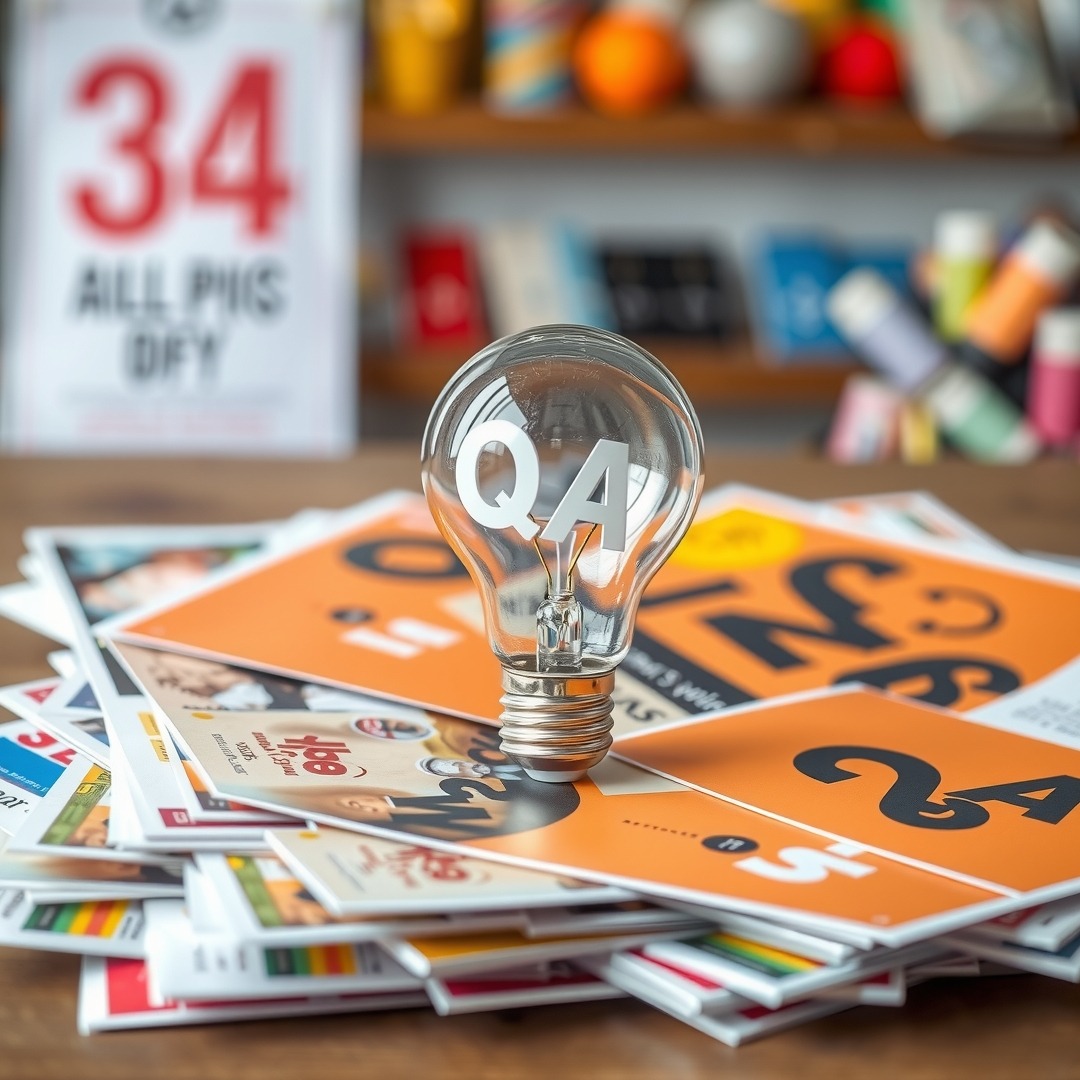
Top 20 Flyer Printing Questions (Expert Answers)
1) What bleed and safe zone should I use?
Use a widely used target of 0.125 inch bleed and at least 0.125 inch safe zone. Bleed prevents trim gaps. Safe zone protects the QR, logo, and phone digits from getting clipped by normal trimming variance.
2) What DPI should I use?
Use at least 300 DPI at final print size. This keeps photo details crisp and prevents QR modules from becoming soft edges after resizing and trimming. Lower DPI often looks fine on screen but fails under paper viewing.
3) Matte or gloss: which is better?
Matte reduces glare and tends to keep text stable in mixed lighting. Gloss increases contrast and color pop. Gloss can be excellent if your CTA and QR zone are contrast-protected and comfortably inside safe zone spacing.
4) How do I place a QR code safely?
Place QR inside the safe zone at least 0.125 inch from the trim edge, with quiet space around it. Avoid corners and avoid putting QR on top of complex gradients that reduce contrast.
5) Why does a QR fail to scan?
Common causes include quiet zone loss from edge placement, QR too small, low contrast, busy backgrounds, or a landing page that does not load well on the phone camera device. Always validate with a real test print.
6) Do I need CMYK for print?
Most professional workflows expect CMYK. If your design is in RGB, request CMYK conversion and proofing when brand colors must match. Color mismatch is a major source of “looks off” complaints.
7) What file format should I upload?
Use a print-ready PDF workflow. PDF Print is preferred because it preserves text sharpness and ensures bleed/crop information is included for reliable trimming.
8) How do I set up full bleed correctly?
Full bleed means backgrounds and artwork extend to the edge beyond the trim. This prevents thin gaps when trimming. Safe zone rules still apply to logos, QR codes, and essential text.
9) What paper weight should I choose?
Paper tier depends on how long you want recipients to keep the flyer. Thicker stocks reduce curl and increase “kept” behavior, which increases conversion opportunity. Lighter stocks are fine for quick reminders.
10) How does trim variation affect content?
Even small trimming differences can clip edge-close elements and remove QR quiet zone. This is why safe zone targets exist: to keep QR and critical text readable after trimming.
11) How do I estimate flyer cost?
Estimate based on quantity, stock/finish tier, and design complexity. For home printing, approximate ink/toner cost per page. For professional printing, use vendor quotes and plan a proof to avoid reprints.
12) What drives printing cost the most?
The main cost drivers are quantity, stock tier, and production complexity (photo density and gradient handling). Proof iterations also affect cost. The goal is not to minimize cost at any price, but to avoid costly failures.
13) How early should I order?
Plan 7-14 days when proofing and scheduling matter. For urgent events, still print one test sheet. A test sheet prevents reprints more than it delays production.
14) When should I order a proof?
Proof your design when you have photos/gradients, full bleed near edges, strict brand colors, and any QR requirements. Proofing is a budget protection step for your distribution ROI.
15) Do small fonts print clearly?
Small fonts can print clearly if you keep sufficient contrast, avoid overly thin strokes, and choose a finish that supports readability. Gloss can reduce clarity for thin fonts due to reflections.
16) Can I print flyers on a home printer?
Yes for small runs. The biggest risks are margins, consistency across sheets, drying/smudging (inkjet), and paper curl. Use a test print workflow and lock your settings.
17) How can I improve QR scan reliability?
Use high contrast, avoid busy backgrounds, keep QR in the safe zone, and ensure the QR is large enough for the flyer size. Also confirm the landing page experience so scans convert.
18) Can I track flyer results?
Yes. Use unique QR URLs for campaigns and placements. Track scans and downstream actions so you can compare message and placement effectiveness and improve the next print run.
19) How do I avoid banding in gradients?
Use high-resolution assets and export with settings designed for print. Banding can also appear due to low-res gradients or aggressive compression. Proofing helps verify how the gradient reproduces on paper.
20) What causes the most common reprints?
The most common reprints are caused by clipped elements, wrong scaling (QR shifts), low-contrast QR/CTA, incorrect export format, and color/profile mismatches. Prevent these with safe-zone discipline and proof-first workflow.
Expert playbook: how to prevent reprints
If you want to reduce reprints to near-zero, stop relying on “it looked fine on screen.” Instead, use a repeatable verification loop that targets the production risk points: trimming, QR readability, and color management. This loop works for both beginners and teams because it is based on how failures actually happen.
Step 1: verify geometry (trim + safe zone)
Geometry failures are the most expensive because they can destroy QR quiet zones and clip phone numbers. Use the same safe-zone rule every time: keep critical content at least 0.125 inch inside trim. Then check your layout for anything that looks “close” to the edge: thin rules, logos placed on borders, and QR codes on decorative panels.
- Turn off any automatic scaling in your design export and printer driver.
- Confirm full bleed backgrounds extend to the bleed boundary so trimming does not reveal thin gaps.
- Use spacing breathing room around QR codes (quiet zone), not just minimal margins.
Step 2: verify QR as a real decision tool
QR failures are rarely “mystical.” They happen because contrast, size, or placement is wrong. The verification test should mirror your reader reality: scan with your phone right after printing (or during proof review) and check whether the landing page loads fast. A QR that scans but leads to a slow mobile page is still effectively a failed QR.
- Scan immediately after printing to catch smudged or low-contrast QR edges.
- Test in the lighting environment your flyers will face (office light, sunlight, or counter glare).
- Use unique QR URLs so you can attribute which campaign placement is working.
Step 3: verify color where full color is involved
Color mismatch can create a subtle failure: your flyer might be readable, but your brand confidence drops because it “looks wrong.” That is why CMYK workflows and proofing matter. If you have brand colors you must match, request a CMYK proof or confirmation of the conversion path. If the design includes heavy gradients, request proofing even if everything looks good at a glance.
- Compare key brand colors in the proof to your expected palette.
- Watch for banding in gradients and ask for a corrected export if it is severe.
- Keep dark backgrounds disciplined so QR and CTA contrast stays stable.
Two planning examples (quick mental models)
Example A: a text-heavy flyer with a single QR CTA. Choose a finish that reduces glare if it is used in mixed lighting. Validate safe zone once and you can scale confidently. Example B: a photo-heavy flyer with full-bleed backgrounds and gradients. Treat it as a quality-sensitive job: proof first, then scale.
These two examples show the same principle: proof only when it protects your most expensive failure modes. That is how you keep quality high without overspending on unnecessary iterations.
Browse 6 Flyer Format Picks (Allocated)
These allocated product examples can be used as real-world stock/finish references while you answer the questions above.