Home printing is often the instinctive first move for small event organizers, entrepreneurs testing a new concept, or anyone who needs a handful of flyers tomorrow morning. For quantities under 30 units with a capable inkjet printer and decent photo paper, it can absolutely produce results that are far better than walking out empty-handed.
But the vast majority of small business owners massively over-estimate the cost-effectiveness window of home printing. At 100 units, your $45 ink cartridge starts to look very expensive per flyer. At 200 units, you’ve spent more on ink and paper than a wholesale online order would have cost — and your results are still thinner, duller, and less professional.
Let us navigate this honestly. Here is exactly when home printing works, how to do it correctly, and precisely when to make the strategic switch to wholesale manufacturing.
The Complete Home Flyer Printing Process — 7 Steps
Design at 300 DPI
Open Canva, Adobe Express, or Microsoft Word. Design your flyer at the exact intended print size (8.5×11, 5.5×8.5, etc.) at a minimum of 300 DPI resolution. Export as a high-quality PDF not a JPEG — PDF preserves vector elements and text sharpness.
Select Quality Glossy Photo Paper
Do not use standard 20lb copy paper for marketing flyers. Purchase 60lb–80lb glossy photo paper from any office supply store. Hammermill Glossy Product Paper or HP Premium Photo Paper are reliable consumer options.
Configure Printer Driver Settings
In your print dialog, set Quality to ‘Best’, Paper Type to ‘Glossy Photo’, Color Mode to ‘Vivid’ or ‘Photo’, and enable borderless printing if your printer supports it. Never print marketing materials in ‘Draft’ or ‘Standard’ quality mode.
Print a Test Sheet First
Print a single test copy and let it dry fully (5–10 minutes) before evaluating. Check color accuracy, edge sharpness, and scan for any banding or streaking patterns that indicate a clogged print head.
Run Your Print Batch
Load paper in small batches of 10–15 sheets to prevent feed jams. Face the glossy side correctly as directed by your printer manual (usually glossy side down in rear-load printers, glossy side up in front-load).
Allow Complete Ink Drying
Stack printed flyers loosely, printed side up, for at least 15 minutes before stacking tightly. Glossy papers hold wet ink on the surface — premature stacking causes ink transfer between sheets.
Trim if Needed
If printing with white margins, use a paper trimmer (not scissors) to achieve clean, professional edges. A rotary cutter produces the cleanest cut and is worth the $15–$25 investment if you print regularly.
Enter your quantity and home printing costs to instantly see whether wholesale printing is cheaper.
When to Definitively Switch to Professional Printing
Home printing has a clear economic break-even point. Using average inkjet running costs and quality glossy photo paper, home printing becomes more expensive than professional wholesale printing at approximately 30–50 units for a full-color 8.5×11 flyer.
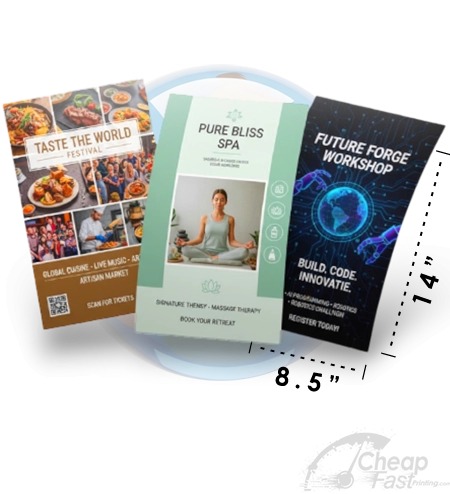
Beyond pure economics, professional printing delivers capabilities that no home printer can match: UV gloss coating, 14pt rigid cardstock, commercial CMYK calibration, and consistent color reproduction across 10,000 identical sheets. The moment your flyer represents your brand in a professional setting — trade show, direct mail, restaurant menu, real estate collateral — wholesale offset printing is not a luxury, it's a requirement.
Many savvy marketing teams use home printing for proof-checking and initial concept reviews, then send the approved file to a wholesale printer for the final production run. This combines the speed of home printing for iteration with the quality and economy of professional manufacturing for distribution.
Browse 6 Professional Alternatives to Home Printing