Choosing a flyer size is not just a production decision. It is a reader behavior decision. People react to physical size instantly because it changes how long the flyer can be held, how quickly it fits in a hand, and how confidently a message can be scanned at arm’s length.
The 5×7 format is popular because it sits in that practical middle zone: it is substantial enough for a strong headline and a meaningful photo, yet still compact enough for handouts, office counters, and event check-ins. If you want a flyer that feels premium without becoming a poster, 5×7 is one of the best starting points.
Read the sections on (1) design hierarchy, (2) paper and finish, and (3) proof and production rules. Then use the interactive widgets to estimate cost and pick a layout stack for your flyer purpose.
- Why 5×7 Works for Custom Flyers
- The 5×7 Design Hierarchy (Fast Attention)
- Paper and Finish Choices for 5×7
- Bleed and Safe Zone Rules (0.125 inch)
- Interactive: 5×7 Cost Estimator
- Interactive: Purpose-Based Layout Selector
- How to Choose a Printing Service
- Browse 6 Flyer Format Picks
- Top 10 5×7 Flyer Printing FAQs
Why 5×7 Works for Custom Flyers
5×7 provides a meaningful canvas. On smaller formats (like 4×6), you often compress the message until only the essentials survive. On larger formats (like 8.5×11), the flyer becomes more like a mini-brochure and can demand more reader effort.
5×7 is the compromise where you can still place a clear headline, a short supporting line, and a strong QR code area, while leaving room for 2-5 bullets that answer: what is it, when, where, and what to do next.
Reader time is short, but attention is not random
In most distribution moments, your flyer is encountered during movement: people walk into a lobby, step into a line, check a bulletin area, or pick up a handout between appointments. They will not read everything. But they will scan your layout for the pieces that resolve uncertainty.
- Uncertainty about what the flyer is for gets solved by your headline.
- Uncertainty about when/where gets solved by the date/time block and location line.
- Uncertainty about what to do next gets solved by the CTA and QR code.
If you design 5×7 around those three solves, the format becomes reliable, not decorative.
5×7 is also production-friendly
From a printer workflow perspective, 5×7 can be efficient. Many services are set up to handle common coated and uncoated stocks for flyer production. That matters because consistent trimming and consistent color handling reduce the chance your flyer ends up looking washed out or clipped.

The 5×7 Design Hierarchy (Fast Attention)
The most effective 5×7 flyers behave like a landing page. They have a first-screen experience and a follow-up detail experience. You accomplish that with hierarchy and spacing.
Use the 5×7 “3-block” structure
- Block 1: Headline + photo zone. Put your promise headline over the most visually interesting asset you have (often a hero photo).
- Block 2: Essentials zone. Date/day, time window, location, and key facts. Keep this block compact and aligned.
- Block 3: CTA zone. QR code + one CTA sentence and optional contact line.
When those three blocks are visible at a glance, parents read; office visitors scan; event attendees know what to do next.
Make the QR code scannable on first try
It is common to see QR codes on flyers that look good on screen but fail outdoors or in bright indoor lighting. The fix is almost always design: adequate contrast, enough quiet space around the code, and correct placement away from edges.
- Pick a solid foreground/background contrast combination.
- Keep the QR away from trim edges and corners.
- Place CTA text directly near the QR so the reader knows what scanning does.
Choose a font strategy that survives printing
Printing changes how thin font strokes and fine spacing appear. If your flyer relies on ultra-light fonts, it can lose clarity when trimmed or when you shift from screen viewing to physical reading.
For 5×7, use fewer font weights, larger sizes for headlines, and consistent line-height for paragraphs. Keep your CTA in a heavier weight and a single color that contrasts with the QR zone background.
Paper and Finish Choices for 5×7
Finish is not only about how premium something looks. Finish affects readability and the way glare interacts with printed text.
Matte finishes for clarity and glare control
If your flyer will be read under fluorescent office lighting, posted outdoors, or placed behind glass, matte is usually the safest default. It tends to reduce glare and helps the text and QR remain readable when the flyer is slightly reflective.
- Best for: event announcements, schedules, service details, and longer text lines.
- Design tip: matte still supports strong color, so prioritize contrast in the CTA zone.
Gloss finishes for impact and photo-heavy flyers
If your flyer uses vibrant photography, gloss can boost visual contrast and make color feel richer. Many marketing teams prefer gloss for promotional moments where the flyer is primarily a visual hook.
- Best for: photo-driven flyers, retail promotions, and “look at this” campaigns.
- Design tip: avoid tiny compliance text near the bottom edge and check readability at distance.
Thicker stock makes a flyer feel “kept”
A premium flyer gets treated like something that has value. When the paper is thick enough, it resists folding and keeps corners from curling. That increases the odds your message survives long enough to convert.

Bleed and Safe Zone Rules (0.125 inch)
No matter how good your design is, it cannot convert if it is clipped. For flyer printing, adopt two rules:
- Full bleed: background colors and artwork should extend to the edge so you do not get white trim gaps.
- Safe zone: place logos, QR codes, phone numbers, and dates at least 0.125 inch inside the trim edge.
This is especially important on 5×7 because many flyers are trimmed and stacked quickly. A QR code too close to the trim edge will lose scan reliability after cutting variation.
Always check your exported proof at 100% scale and confirm that critical elements are inside the safe zone. Do not rely on design tool previews alone.
Interactive: 5×7 Cost Estimator
Use this quick model to estimate a planning range for print cost and cost per action. It uses assumptions because actual pricing depends on your vendor and exact stock.

Interactive: Purpose-Based Layout Selector
5×7 layout should change based on what the flyer is trying to accomplish. This widget recommends a practical section order.
How to Choose a Printing Service
If you want the flyer to look like your design, your printing service matters. A premium service reduces risk in three areas: file correctness, stock/finish consistency, and proof workflow.
Before you place the print order, confirm three things: (1) your critical content (QR, headline, CTA) is inside the 0.125 inch safe zone, (2) your artwork is set to full bleed so you do not get thin white edges, and (3) you have a proof approval step so the final trimmed output matches what you reviewed.
Compare what the service supports
- Bleed and safe zone support (do they understand 0.125 inch rules?)
- Paper and finish options (matte vs gloss, thicker stock choices)
- Proof workflow (can you review and approve before production?)
- Bulk consistency (if you reorder, does it match the previous batch?)
Ask “what happens if trimming varies?”
Trim variation is normal. The question is whether your design protects critical content. The best services offer guidance or help you validate that your QR code and essential text are inside the safe zone.
Track outcomes so you can refine your next order
After distribution, check scans and conversions. If your flyers underperform, you have two levers: placement and creative. Use campaign-specific QR codes so you can attribute performance correctly.
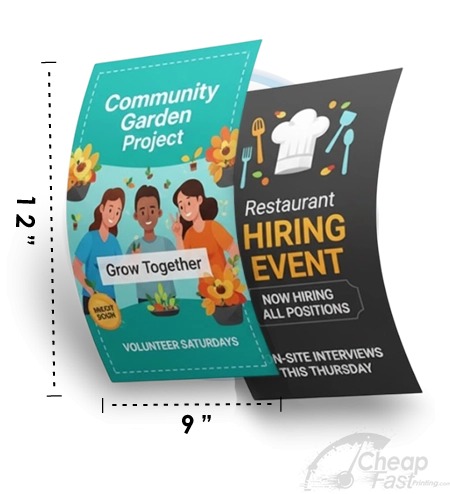
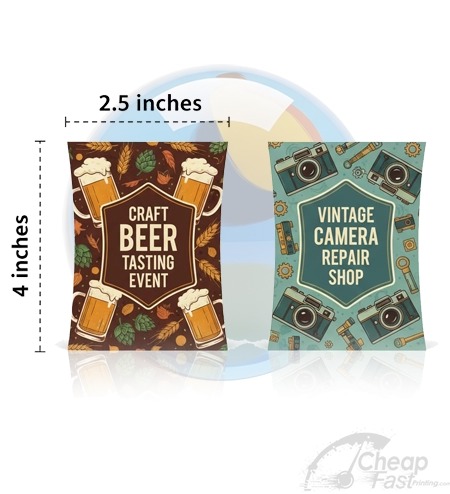
Browse 6 Flyer Format Picks
These are six allocated product examples for this post. Use them as “adjacent options” when you want your 5×7 campaign to match a broader set of materials (postcards, rack-style formats, and premium display pieces).